

On one of my groups we are going to be having a 4"x 4" fat book page swap every month so for January we have been challenged to make covers for our books! The theme for the swap is Shades of Colour. After a bit of "sitting" with the concept I decided to use the following magazine cover to create my book covers.
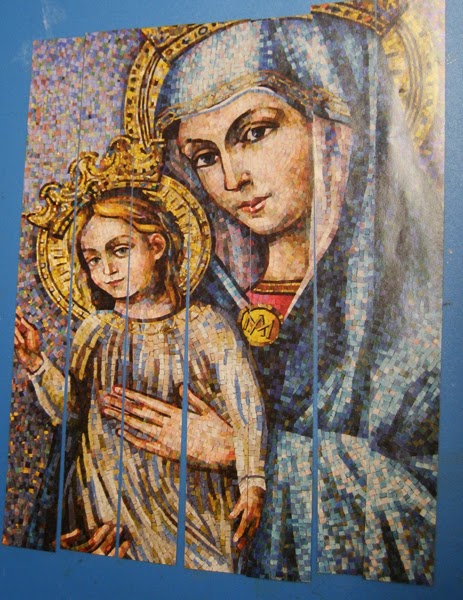
I loved this mosaic image as soon as I saw it on the cover of a magazine that arrived before Christmas!! When it was time for the magazine to be recycled I tore off the cover not sure what I was going to be doing with it.
I cut off the text and cut the remainder into 1" squares.
I sorted the squares into colour groups - sixteen blueish ones for the front cover and sixteen mulit-colour for the back cover. I glued them to edge to edge onto white cardstock, pressed them under weight and trimmed them to just under a four inch square.I cut off the text and cut the remainder into 1" squares.


I cut the tape in two, adhered the white edge to the front of my covers and folded the remaining part with the letters to the back creating a nice collage on the inside covers as well. I am super happy to have created art with this beautiful piece of paper that manages

I will be binding my pages from the swap into the covers using my Zutter Bind it all machine using a large binding which will give me lots of room to add charms, fibers and tags if I wish.
I added ribbon and a 3D embellishment to my cover. The embellishment is one I created when my grand daughter was visiting this summer. We played with bottle caps and I filled this one with a punchie that says, "Think HAPPY, BE happy". I glued it to the cavity of a flatten bottle cap, added some clear Dimensional Magic and then inserted the blue iridescent beads all the way around the words and left it to dry. The colours are a perfect match for my covers. I used double side tape to adhere my ribbon to the outside and inside of my front cover and tied the ends together at the top. I used an awl to make holes in my bottle cap and my covers then used coordinating thread to stitch it to my cover over the ribbon.
So the journey begins!! I am looking forward to the swap and all the interesting pages I will receive this year. As the cover says, we must think to be happy, nurturing the good that arrives in our lives and being grateful for every blessing is what will bring us happiness.
Enjoy what you love today!!
Therese