
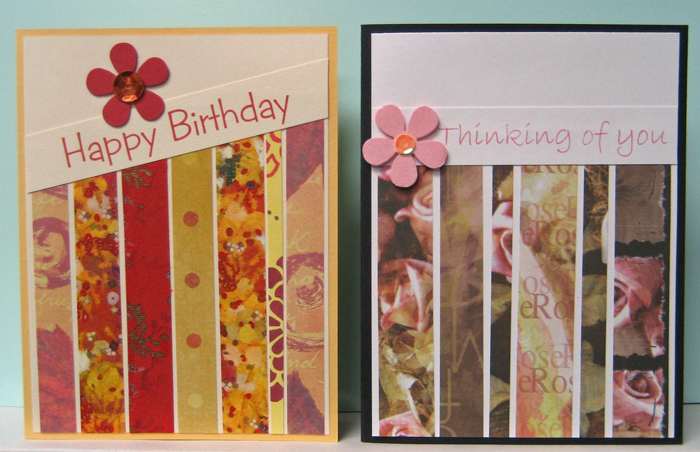
I always leave the easiest card for last in my class!! For these cards I sorted through my scraps and cut a wide variety of strips both in length (at least 5.5") and width. Next, I set aside 7-8 that coordinated for each card kit. I put the strips into envelopes and next created the greetings so they would coordinate with the strips printing them on ivory or white cardstock. I trimmed the individual greeting and added them to the envelopes. Next, I cut white and ivory layers - 4" x 5.25" -to coordinate with the greetings and put them into the envelopes. Next, I chose a card front that coordinated with what I had already prepared and added them along with an insert to the envelopes. Finally, I created custom embellishments using my punches along with sequins or rhinestones for the kits!! It was fun to see them all come together and how well all the pieces worked together. This card had the most flexibility in layout. The stripes could be glued at an angle below or above the greeting from left to right or right to left, OR they could be glued vertically above or below a horizontal greeting, OR they could be glued horizontally above or below a horizontal greeting, OR they could be glued vertically above or below an angled greeting!! It was fun to experiment with all the options. Once a layout was chosen the strips and greeting were glued to the neutral layer, trimmed to the edge and glued to the card front. The little embellishment was adhered where desired on the card using 3D foam tape. Again, there were a wide variety of layouts created beyond what I had laid out as ideas by the creative bunch of cardmakers - some complete newbies who learned quickly and executed their cards very well.
We had a wonderful time and lots of beautiful cards were created!!!
Therese


No comments:
Post a Comment
Please leave your comments